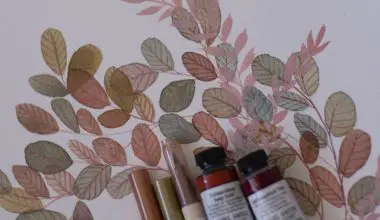
Since they are water-soluble, oil and acrylics look very vibrant when they are painted on glass. Watercolor is the most popular medium for glass painting because it is easy to work with and can be done in a very short amount of time. Watercolor can also be used for other types of glass, including ceramic and porcelain.
Table of Contents
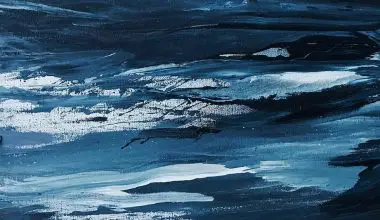
What color makes wine color?
If you’re trying to paint red wine in a wine glass, try making two shades of red–one much more red (with less blue and brown) and one closer to black (with more blue and brown). You can also use the same technique to make white wine.
In this case, you’ll want to use a lighter shade of white than the one you used for the red and black wine glasses, and you want it to be closer in color to the color of your skin. To do this, put the lighter white shade on top of a darker one, such as a dark brown or black.
Then, place the darker white one in front of it, so that the two colors blend together.
How does an artist paint glass?
Use a soft brush to blend areas that gradate from pale to dark. Light can create bright spots and strange patterns on glass. The essence of your subject can be captured by exploiting these. Use a highlighter to highlight areas of the subject that are darker than the background. This can be achieved by using a lighter shade of color on a darker area.
For example, if you are photographing a person with dark hair, you can use a light highlight on the hair to make it stand out from the rest of his or her hair. You can also use lighter highlights on darker areas to create a more dramatic effect.
Do I need to prime glass before painting?
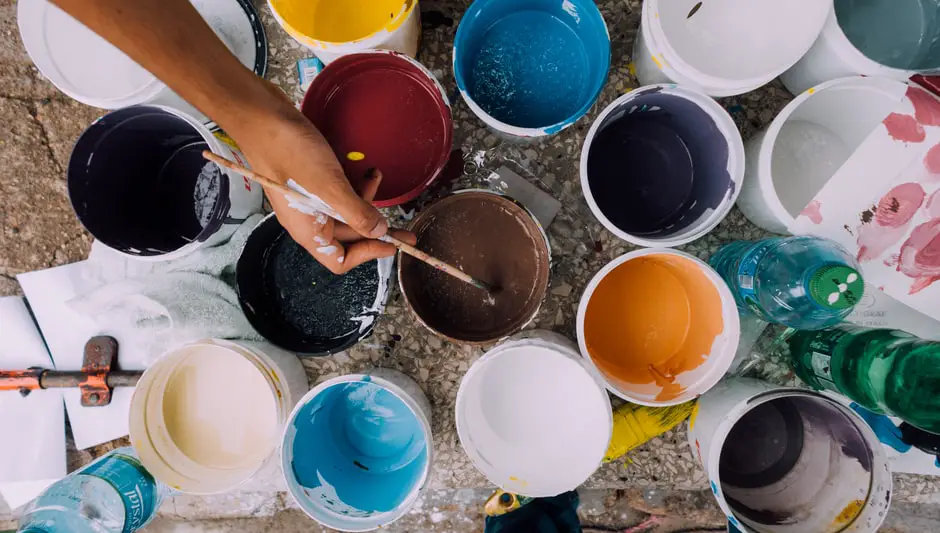
Priming is not always necessary, but it is preferred for a longer-lasting and more durable paint adhesion. Some paints do not need a primer while others do. Apply a thin coat of paint to a clean, dry surface. The paint should be thin enough to coat the entire glass surface, not just a portion of it.
If you are using a paint with a high gloss finish, you may need to apply a second coat to achieve the desired gloss. You can also apply two thin coats if you want a more opaque finish. This is a good time to test the thickness of your paint before applying it to your glass.
It is best to do this before you apply the final coat, so that you know how much paint you will need for the finish you’re going for. For example, if your first coat is 1/8″ thick, and you intend to use a 3/4″ finish on your car, then you’ll need a total of 3 coats to get the same finish as you would with just one coat.
Should you seal watercolor paintings?
If the watercolor painting is on Absorbent Ground, three coats of Archival Varnish (Gloss) are usually required to protect the paint from drying out. If you are painting on a paper that is not absorbent, you will need to apply a second coat of archival varnish or gloss to cover the entire surface of your painting. This will ensure that your paint does not dry out on the surface.
Should watercolors be framed under glass?
Most watercolor society shows don’t allow paintings with varnish or framed without glass. If you are going to enter the painting in the watercolor society show, don’t do this.
If you have a large painting, you may want to place it in the center of the room, so that you can see it from all sides. – You can also use this method to frame a painting that is too large to fit on a wall, such as a portrait of a loved one, or a work of art that will be displayed in an art gallery or museum.
This is a great way to display a piece of artwork that would otherwise be too big to hang in your home or office.
How do you paint your heart on your nails?
You can make a dot on your left ring finger by dipping the toothpick into the polish. The second dot should be next to the first dot. To create a 45 degree angle, use the toothpick to drag one of the dots down. The same angle is created when you drag the other dot down to meet the first dot.
Repeat this process until you’ve created all four dots. Repeat the process for your other ring fingers, making sure to keep the angle of each dot as close to 45 degrees as possible.