The zones on the camera sensor that are sensitive to changes in image contrast are the focus points. A brightly-colored or different-shaped central region with points scattered across the viewfinder image is usually what you’ll see. DSLRs have fewer focusing points than point-and- shoot cameras, but they can have more than one focusing point.
The center focusing zone is the most sensitive, and it’s the one you want to use when you’re shooting in low-light situations. It’s also the zone that’s most likely to be affected by light pollution, which is why you should always use a tripod when shooting at night. If you don’t, your images won’t look as good as they would if you were shooting on a bright, sunny day.
Table of Contents
Do you need autofocus for landscape?
Autofocus can be used for landscape photography. As a whole, my recommendation is to use autofocus by default, so long as it’s working well. I’m not a huge fan of manual focus. I find it to be a bit of a hassle, and I don’t like the idea of having to manually focus every time I want to take a picture.
If you’re going to do a lot of landscape shooting, you might as well get the best of both worlds. I’ve been using RAW for a long time now. RAW files are much smaller than JPEG files. This means that you can shoot at a higher resolution and still get a good quality image.
Second, if you have a camera with a built-in RAW mode, then you’ll be able to shoot in RAW even if your camera doesn’t have an auto-ISO setting. RAW file format is much easier to work with than the JPEG format, which is what most DSLR cameras have these days.
How do you reduce the haze in landscape photography?
You can see the results when you try Auto Tone in the same menu. If you change it in one area of your image, it will affect the rest of the image. The other option is to use the Hue/Saturation/Lightness/Tone/Contrast/Brightness sliders.
These can be found under Image > Adjustments > Hue, Saturation, Lightness, Tone, Contrast, Brightness. If you don’t know what these do, you can read more about them in my article on how to adjust the hue, saturation, lightness and tone of an image using Photoshop’s Adjustment Layers.
Which aperture is sharpest?
The sweet spot of your lens is two to three f/stops away from the widest one. Between f/8 and f/11 is the best place to look at my 16-35mm f/4. If you want to use a wide-angle lens with a telephoto zoom, you need to make sure that the focal length of the lens you’re using is wide enough to cover the entire field of view.
For example, if you have a 24-70mm lens on a full-frame DSLR, it will be too wide for a 35mm camera, so you’ll need a zoom lens that’s at least 70mm wide. If you don’t have that kind of lens in your bag, then you won’t be able to take advantage of its wide field-of-view.
Do pro photographers use autofocus?
For most of the twentieth century, manual focusing was the only method of focusing a camera until autofocus became a standard feature of more modern cameras in the 1980’s. Most professional photographers continue to forego using an autofocus system because manual focusing is so much easier and more accurate.
In this article, I will show you how to manually focus a Canon EOS 5D Mark II DSLR using the Canon EF-S 18-55mm f/3.5-5.6 IS STM Lens. This article assumes that you are familiar with the basics of manual focus.
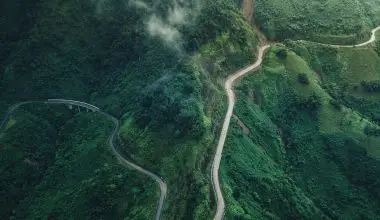
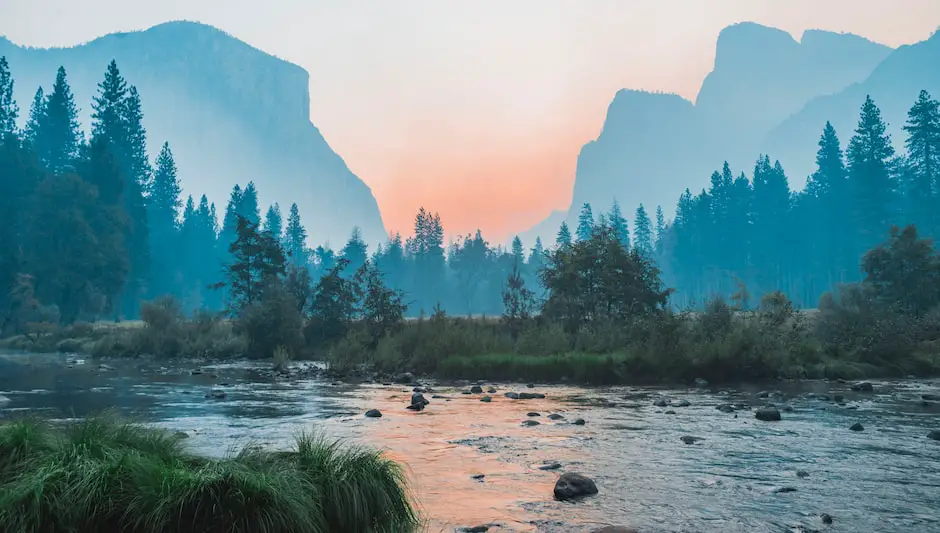
What makes a good landscape image?
A good landscape photograph is more than just an interesting subject and a proper exposure. A landscape photo that tells a story is able to capture and keep the viewer’s attention. In this article, we’ll take a look at some of the best landscape photos from around the world. We’ll start with a few of our favorites, and then move on to some lesser-known, but no less beautiful, landscapes.
What makes a great landscape photo?
Good light light is the most important aspect of a landscape photograph. A photograph of a beautiful location will fall apart. A photograph of a boring location will turn into a work of art if taken at the perfect moment. The best way to get the best of both worlds is to shoot in both light and dark conditions.
If you don’t have one, you can buy one for a few dollars. You can also buy a light stand that will allow you to set up your tripod on a flat surface and then use it as a stand for your camera. These are the two most common types of light stands that you will find on the market.
They are not cheap, but they are worth the money if you are serious about your landscape photography and want to make sure that your images are as good as they can possibly be.
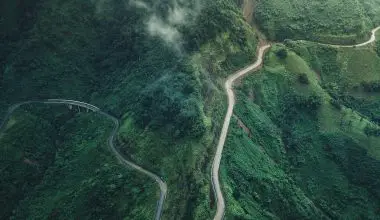
Is landscape photography easy?
Landscape photography is easy to take. It’s so easy to get to. Shoot what you see when you head out the door with your smart phone. You don’t need to worry about adding light like flashes or reflectors, you don’t need tripods and filters to get great shots and cityscapes are easy to capture.
What F stop is best for landscapes?
The best lens for landscape photography is below f/16. Even though a narrow aperture will increase the depth of field, you want to avoid significant diffraction. If you’re using a wide-angle lens, you’ll need to use a wider aperture to get the same depth-of-field as with a telephoto lens.
For example, if you have a 35mm lens with an aperture of f2.8, and you shoot at a distance of 1 meter, the lens will have to be stopped down to f1.4. If you were to take a photo of a person at the exact same distance, they would be able to see the difference between the two photos. This is because of the way the human eye works.
The farther away you are from that center point, or the wider your lens is, then the closer you will be to your subject. So, when you zoom in on a subject, it becomes more difficult for the eye to focus on that central point. As a result, people tend to blur the edges of their subjects, making them appear blurry and out of focus.
What F stop to use for landscape photography?
In landscape photography, you’ll want to use a higher f stop to get more of your scene in focus. Depending on the focal length of the lens you’re using, you’ll want to shoot in the f8 to f11 range.
If you have a wide-angle lens, like a 35mm or 50mm, then you can shoot at a wider aperture (f/5.6, for example) and still get the same amount of depth of field, but you won’t get as much of a shallow depth-of-field effect as you would with a telephoto lens.
For example, if you were shooting a landscape with an 85mm lens on a full frame camera, it would look like this: In this case, the shallow DOF effect isn’t as pronounced as it could be, and it’s not as dramatic as a lens like the Zeiss Planar T* 1.4/85, which has a maximum aperture of f4.0.
If you want a more dramatic effect, try shooting wide open with your wide angle lens and then stopping it down a bit. This will give you a much more pronounced effect.
Do professional photographers shoot in auto mode?
Other professional photographers may use automatic shutter speed, or aperture control and almost all use autofocus to a degree. Sometimes conditions call for full auto when you don’t want to think about anything other than the subject or you’re trying to get a shot of a moving subject.
Auto-focus is a very useful feature, but it’s not the only one. But first, let’s take a look at some of the most important things to know about manual focus.